
How to Tune a Guitar Without a Tuner (And Why You Should Get a Tuner Anyway)
As an Amazon Associate, I earn from qualifying purchases. That means I earn commissions from my sponsored links or I make money when readers (you) purchase items through my links. Your purchase allows me to continue working as a stay-at-home dad who moonlights as a farmer and a musician. Needless to say, this post contains affiliate links.
Learning to tune by ear is a skill. Having a clip-on tuner is just being practical. You want both.
An out-of-tune guitar is the fastest way to make everything you play sound wrong even when you’re doing everything else right.
Before anything else, let’s talk about what standard tuning actually is and why it matters. Every string on your guitar has a name and a pitch it’s supposed to be at.
These don’t change.
They’ve been standard for a long time and almost everything you’ll ever want to learn or play assumes your guitar is tuned to these exact pitches.
Standard Tuning · EADGBE
Standard Tuning · Thickest to Thinnest
6 – E – Thickest string · closest to your face when holding the guitar – Low E · the deepest sound
5 – A – Second string from the top – A
4 – D – Middle of the pack
3 – G – Third from the thinnest
2 – B – Second thinnest
1 – E – Thinnest string · closest to the floor – High E · same name, much higher pitch
Memory trick: Every Amazing Dog Gets Bones Everyday
Those six notes. In that order.
That’s standard tuning.
Every chord shape, every scale, every lesson in this series assumes your guitar is sitting at those pitches right now.
If it’s not, nothing will sound right and you’ll spend the whole session thinking you’re doing something wrong when actually the guitar is just off.
Tuning String to String · The No-Tuner Method
Okay so you don’t have a tuner…
Or you left it somewhere…
Or the battery died…
Here’s how to get your guitar in tune with itself using just one reference note and your ears.
The idea is simple.
Each string, when pressed at a specific fret, should match the pitch of the open string below it.
Once you get one string right, you can tune the rest of the guitar from that single starting point.
1 – Get your Low E (6th string) from somewhere
This is your anchor. Hum a note on a piano app, use a tuning fork, match it to a reference track, or accept that it’s close enough and tune everything else around it. The important thing is getting the 6th string as close to E as you can before you start.
2 – 6th string → 5th string (E → A)
Press the 6th string at fret 5. That note should be the same pitch as your open 5th string (A). Pluck both and listen. Adjust the 5th string tuning peg until they match. When they sound identical, you’re there.
3 – 5th string → 4th string (A → D)
Press the 5th string at fret 5. Match it to the open 4th string (D). Same process. Listen for the notes to align and adjust.
4 – 4th string → 3rd string (D → G)
Press the 4th string at fret 5. Match to open 3rd string (G). Still the same fret, still the same method.
5 – 3rd string → 2nd string (G → B) · different fret
This one changes.
Press the 3rd string at fret 4 this time, not 5.
Match to open 2nd string (B). The fret changes here because of how the guitar is built. This is the one people always forget and then wonder why their B string sounds off.
Fret 4.
Remember that.
6 – 2nd string → 1st string (B → High E)
Back to fret 5. Press the 2nd string there, match it to your open 1st string (high E).
Done.
Your guitar is now in tune with itself.
The string-to-string method works but it has a flaw. If your starting reference note is slightly off then everything you tune after it will also be slightly off in the same direction.
The guitar will sound in tune with itself but it won’t be in tune with another instrument or a recording. Which is fine for practicing alone. Not fine for playing with other people.
Just Get a Tuner
Seriously.
A basic clip-on tuner from Shopee costs 150 to 200 pesos.
That is cheaper than one set of strings.
It clips onto your headstock, picks up the vibration of the string directly so ambient noise doesn’t confuse it, and tells you instantly whether you’re flat, sharp, or in tune.
There’s no good reason not to have one.
Free App
GuitarTuna, Fender Tune, or any chromatic tuner app.
Good enough to start.
Uses the phone mic which means background noise can throw it off.
Fine for quiet practice at home.
Tuner Pedal
For when you’re gigging and need to tune silently between songs. Boss TU-3, TU-3S, TU-3W. These are the serious ones.
Overkill for a beginner but when you’re ready you’ll understand why.
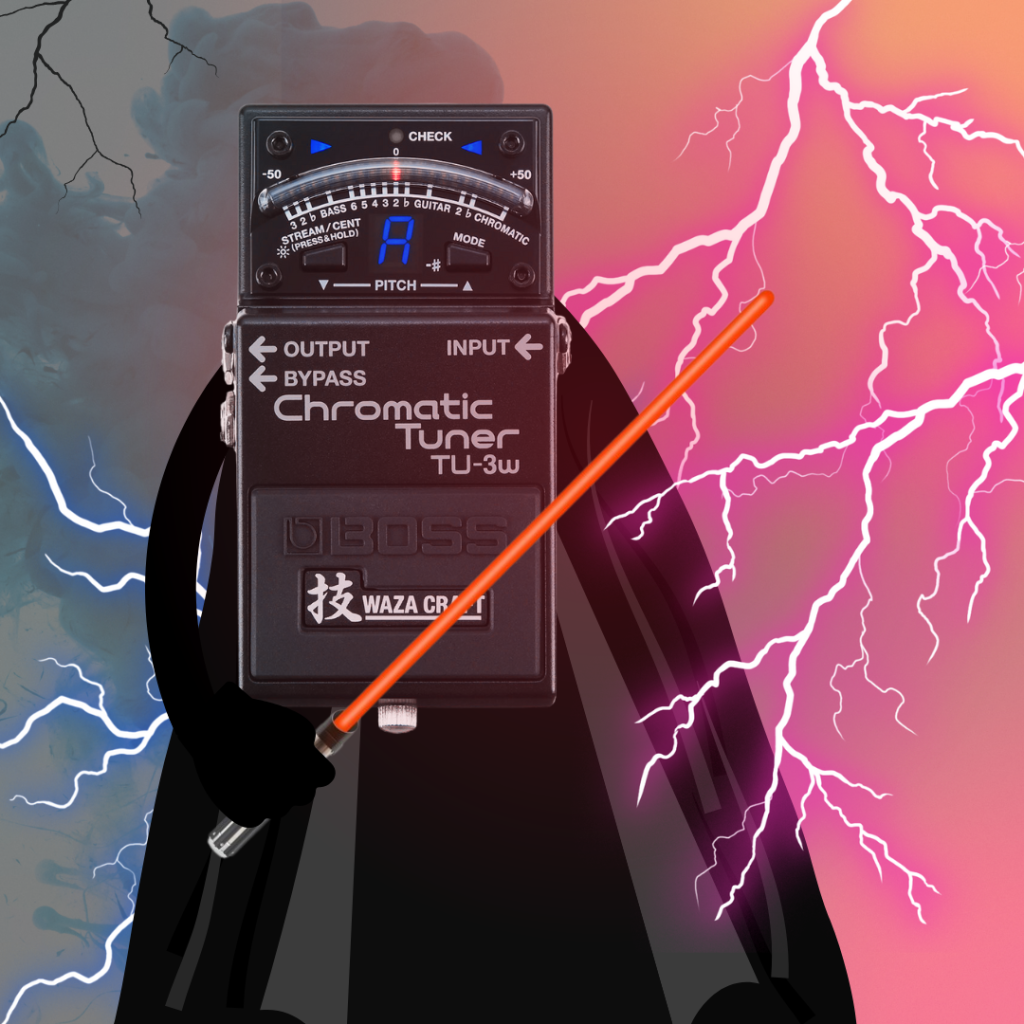
I’ve written about the Boss TU-3S and the TU-3W specifically because those two are genuinely great pieces of gear and I have opinions about them. If you’re at the stage where you’re building a pedalboard and want a proper tuner pedal rather than a clip-on, go read those first: Falling in Love with the Boss TU-3S Again and May the 4th Be with TU-3W. But if you’re a beginner just trying to get in tune before a practice session… clip-on first, pedal tuner later.
Ear Training Matters Too
Learning to tune by ear, the string-to-string method, is still worth practicing even after you get a tuner.
Because the more you do it the better your ear gets at hearing when something is slightly off and that skill carries over into everything else you play.
You start hearing when a chord is just a little sharp.
When a note is bending flat.
Your ear becomes an instrument and it only gets better the more you use it.
Use the clip-on for actual tuning.
Do the string-to-string method occasionally just to train your ears.
Eventually you’ll hear your guitar go out of tune before the tuner even confirms it.
That’s the goal.
Both.
You want both.


Leego Headless Guitar vs Donner Hush X: Why This Almost-Identical Guitar Is Making My 2026 Decision So Hard

A New Year’s Resolution for Musika Wabad